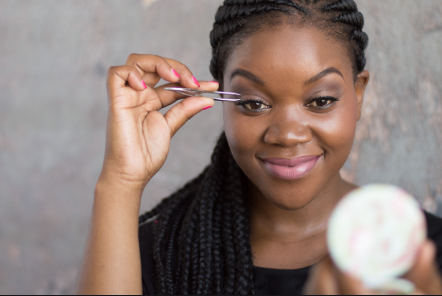
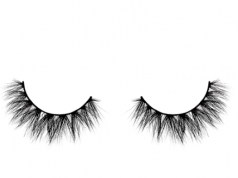
Its summer, and party season is here! You need an instant upgrade to you look! If you’ve been thinking of lashes, we’ve got you.
While it might seem pretty easy, applying your lashes wrong can mean disaster for your whole look.Glue gone astray can cause lumpy-bumpy eye shadow and if your eyes begin to water, from tugging your lids all over the shop, you’ve well and truly had it.
Here are few easy steps to get those lashes in line every time.
Curl your natural lashes and apply your mascara
Give your natural lashes a bit of “oomph” first and adding a coat of mascara, you create a “shelf” effect to help support your falsies. This helps open up the lash line and makes installation a lot easier.
Trim your lashes to fit your eye
Don’t try and stick on your lashes straight from the box.
Everyone’s eyes are different shapes and sizes.
Ensure a perfect application and no flapping or eyeball-poking ends) by trimming your lashes to the length of your eye.
(hold the lash against your eye, measure the length you want and trim off the excess. Remember to keep the left lash on the left and the right on the right at all times)
Add your glue and WAIT
After you’ve carefully and sparingly applied your glue to the lash band, do not attempt to stick it to your eye straight away.
The glue needs to become nice and tacky before you attempt to stick it along your lash line.
Count to at least 30, before going in for the kill. This will help you avoid a huge mess on your make up, and make the lash hold faster)
Stick them down!
Place the lashes where your natural bulk of lashes begin.
Look down and press the lashes along your lash line; pressing down in the centre, outer edge and inner corner.
(if on your first trial there’s a gap between your lash line and the false eyelash, if its not too obvious you can cover wit black liquid liner. if its too noticeable, you can take them off and start again!)
Top tips to get your application right

- Do your eye makeup first – the lashes will get in the way otherwise and may also get covered in slap.
- Set your lashes by pinching and pushing your natural lashes together with the falsies. (You will need to have applied mascara).
- To make lashes last longer, add a few dots of adhesive along your lash line, as well as the fake lashes.
- Soften the lashes and prevent “pop-up” by rolling the falsies round your finger or a makeup brush, before application.
- When it comes to trimming, do so from the outer edge and cut from the vain to prevent over chopping.
Bonus: Get your lashes looking luscious
- Prevent ruining your lashes by taking them out the box correctly. Do so from the outer edge and never the inner.
- Place a mirror in a position near you that lets you look down into it as you apply the falsies.
- For a more natural look, try chopping lashes in half and applying to the outer corner.
- Apply a little more glue to the inner corner and outer edges of your lashes, to keep the ends firmly down.
- If your lashes were on the cheaper side, or didn’t come with glue, invest in a good quality adhesive.
- If there is a small, visible gap between your eyelid and the lashes, don’t fret – fill in the gap using a matte black shadow or liner
Want to know the DOs and DONTs of fake lashes?


